> For the complete documentation index, see [llms.txt](https://kb.vimzaa.com/llms.txt). Markdown versions of documentation pages are available by appending `.md` to page URLs; this page is available as [Markdown](https://kb.vimzaa.com/plesk-hosting/getting-started-with-plesk/how-to-upload-content-with-plesk.md).
# How to upload content with Plesk
#### Uploading Content Using FTP
To connect to the server using FTP, you need the following information:
* **FTP server address.** The FTP address is your domain name, that is, your site’s Internet address.
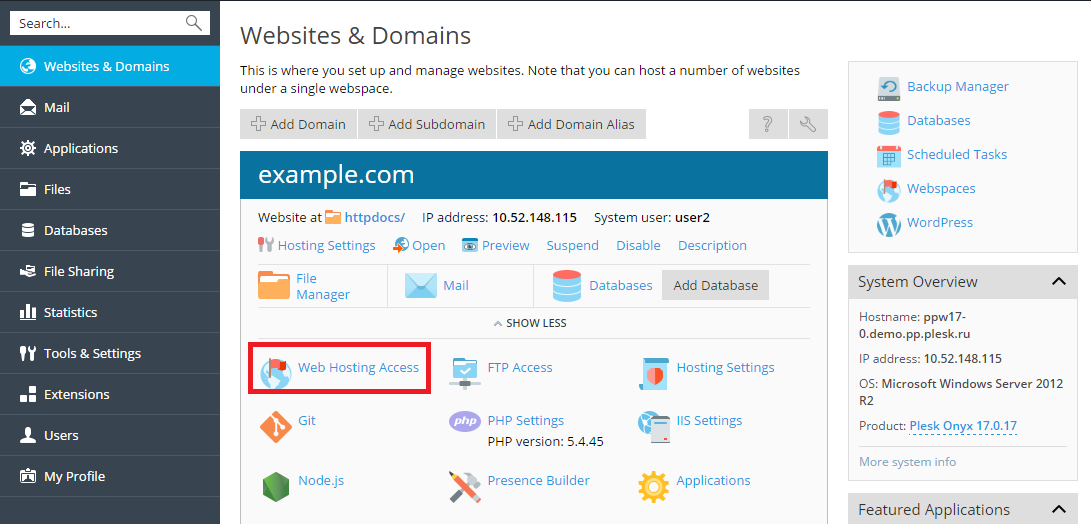
* **FTP username.** It is identical to your system user name. To find what your system user name is, go to **Websites & Domains** > **Web Hosting Access**. You will find it under **Username**. You can change your system user name if you want.
* **FTP password.** It is identical to your system user password. If you do not know what your system user password is, go to **Websites & Domains** > **Web Hosting Access**. You can reset the password under **Password**.
You will also require a program called an FTP client. There are many free FTP clients available on the Internet, such as FileZilla or FireFTP. Download and install the client on your computer to connect to the FTP server. Please refer to the FTP client’s instructions for information on how to install and configure it.
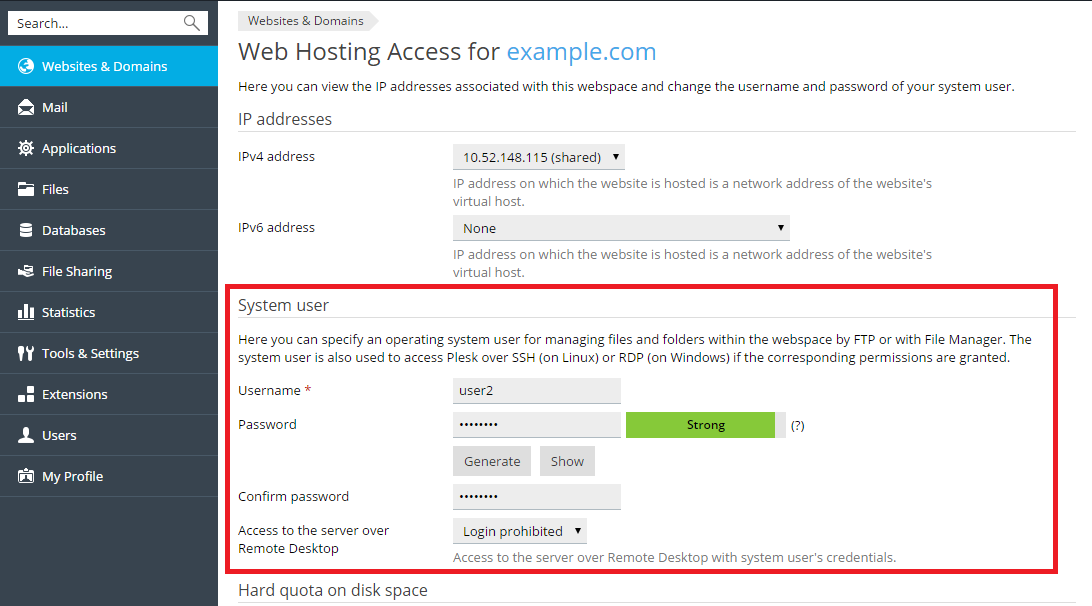
To change the FTP account username or password, go to **Websites & Domains** > **Web Hosting Access**.
Then specify new username and password for the **System User**.
#### Uploading Content Using the File Manager
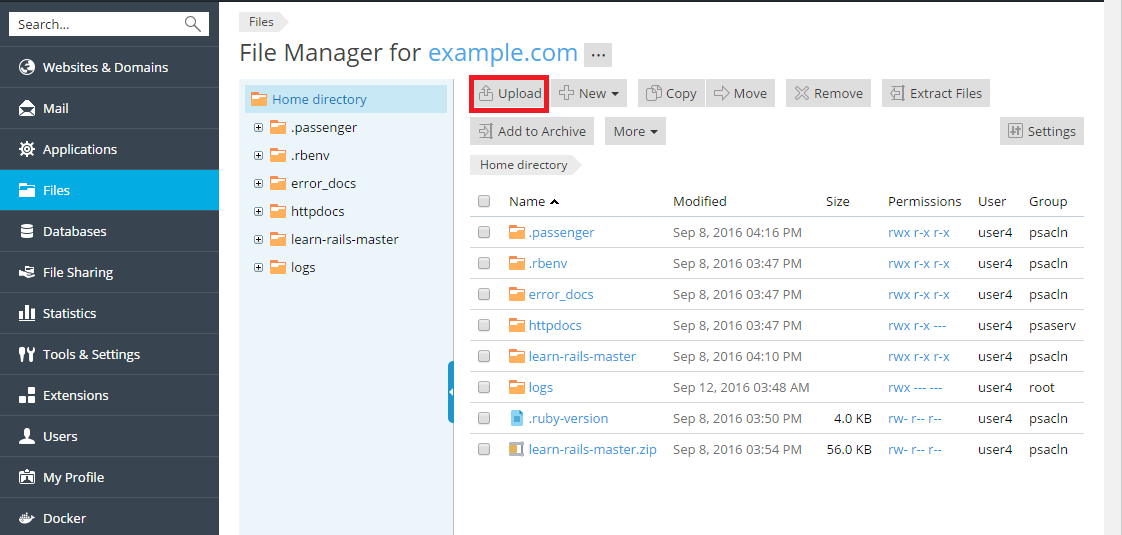
To upload content, go to **Files**, navigate to the folder to which you want to upload content, click **Upload**, select the file to be uploaded, and click **Open**.
Note that when uploading multiple files it is recommended to add them to an archive, upload the archive, and extract the files to save time. Only ZIP archive files are supported at the present time.
To download a file, go to **Files**, navigate to the location of the file you want to download, click the  icon next to the file you want to download, and select **Download** from the menu.

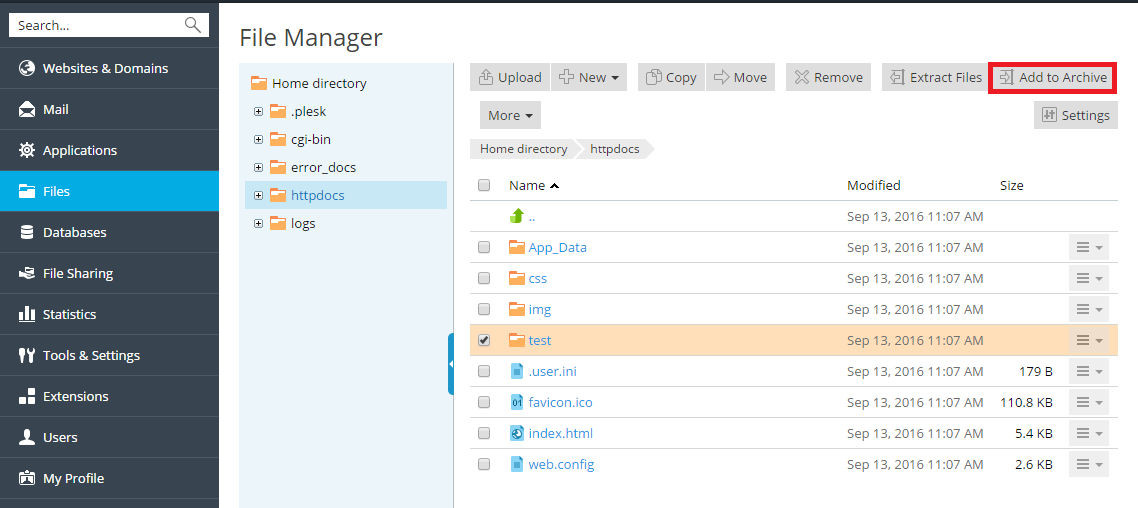
To compress files, go to **Files**, navigate to the location of the file or folder you want to compress, select the checkbox next to it, and click **Add to Archive**.
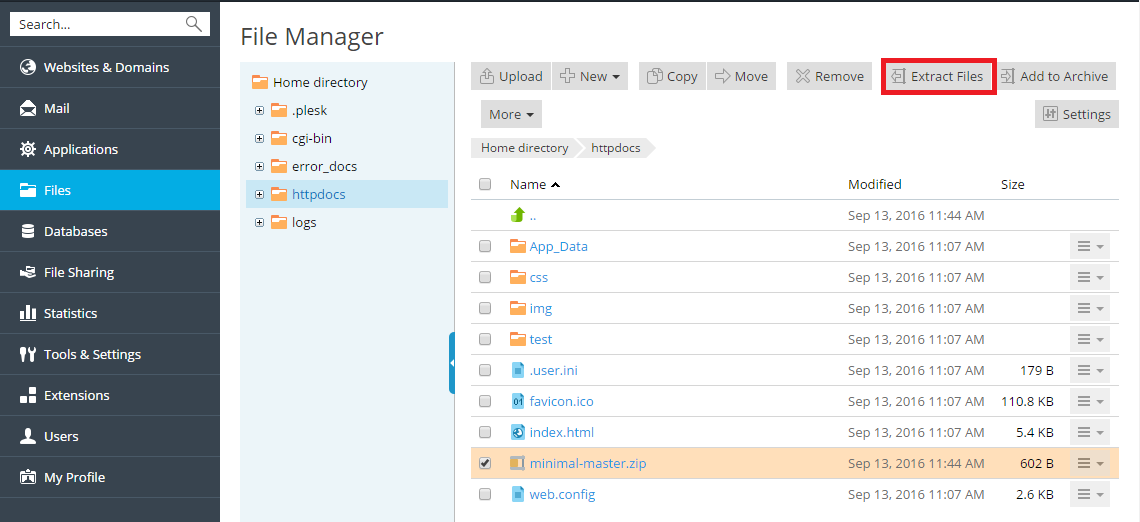
To extract files from an archive, go to **Files**, select the checkbox next to the file you want to extract, and click **Extract Files**.
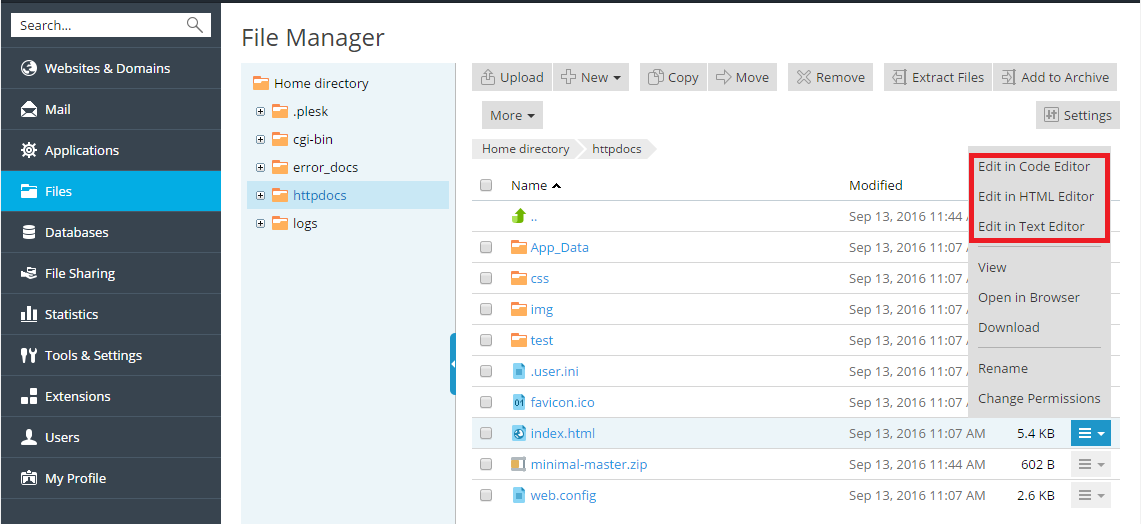
To edit files, go to **Files**, navigate to the location of the file you want to edit, and do either of the following:
* To edit the file in the code editor, click the  icon next to the file you want to edit, and select **Edit in Code Editor** from the menu.
* To edit the file in the HTML editor, click the  icon next to the file you want to edit, and select **Edit in HTML Editor** from the menu.
* To edit the file in the text editor, click the  icon next to the file you want to edit, and select **Edit in Text Editor** from the menu.